







1
Download your preset pack
Get the ZIP from your OneDollarStock account. Keep it organized — one folder per pack.
ZIP pack
Instant access
Ready to import


Three steps. One consistent look. Edit faster and make every image feel premium.
Get your preset pack instantly from OneDollarStock.
Import once. Click once. Adjust intensity if needed.
Faster workflow. Consistent style. Premium results.
No complicated process. Just three simple steps that work in Lightroom and Photoshop.
Get the ZIP from your OneDollarStock account. Keep it organized — one folder per pack.
Import the pack once, then apply presets in one click. If the look is too strong, reduce intensity and fine-tune.
Pro tip: correct exposure + white balance first. Presets amplify what’s already there.
Your images now share one consistent style — faster edits, better results, and a recognizable visual identity.
OneDollarStock Presets Guide
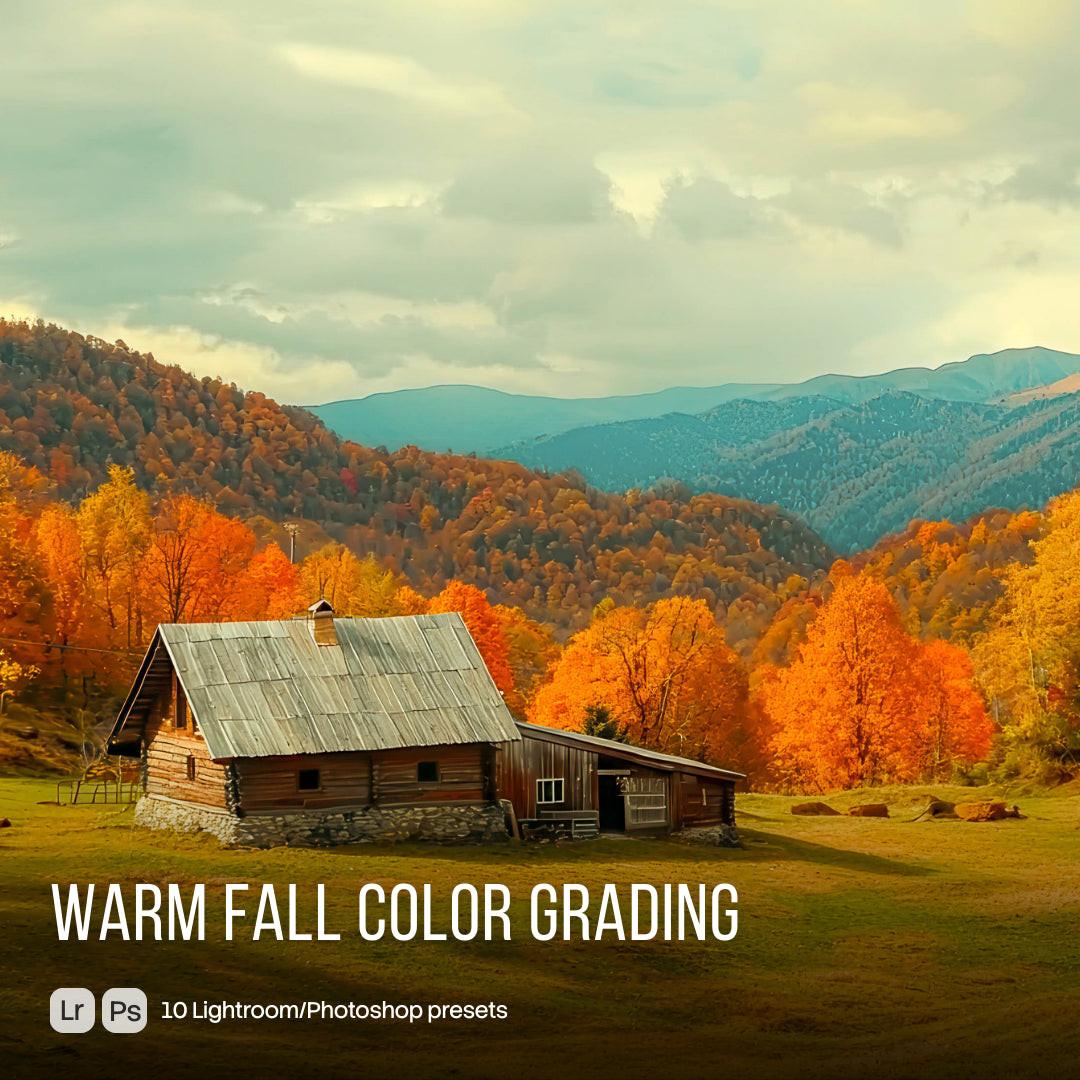
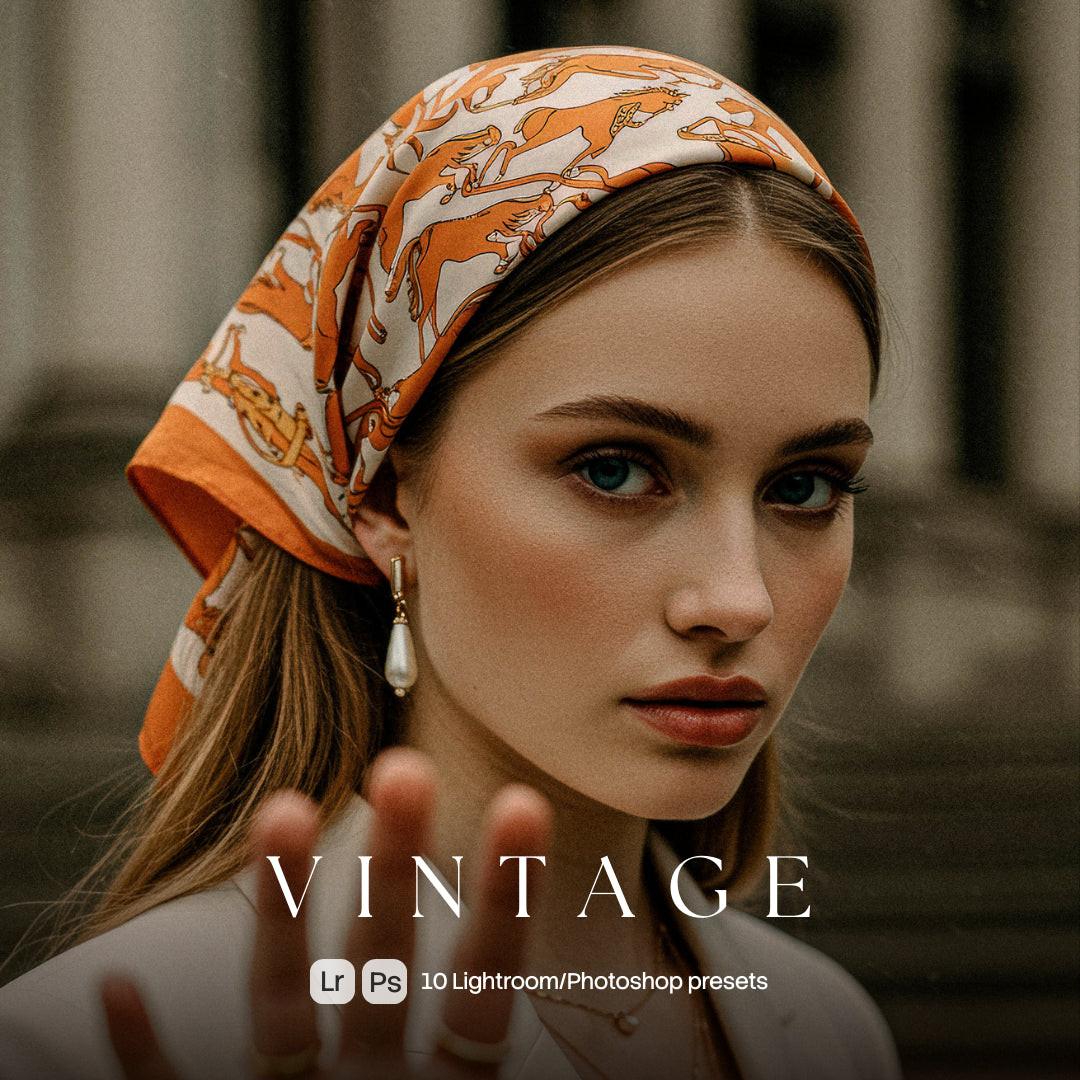
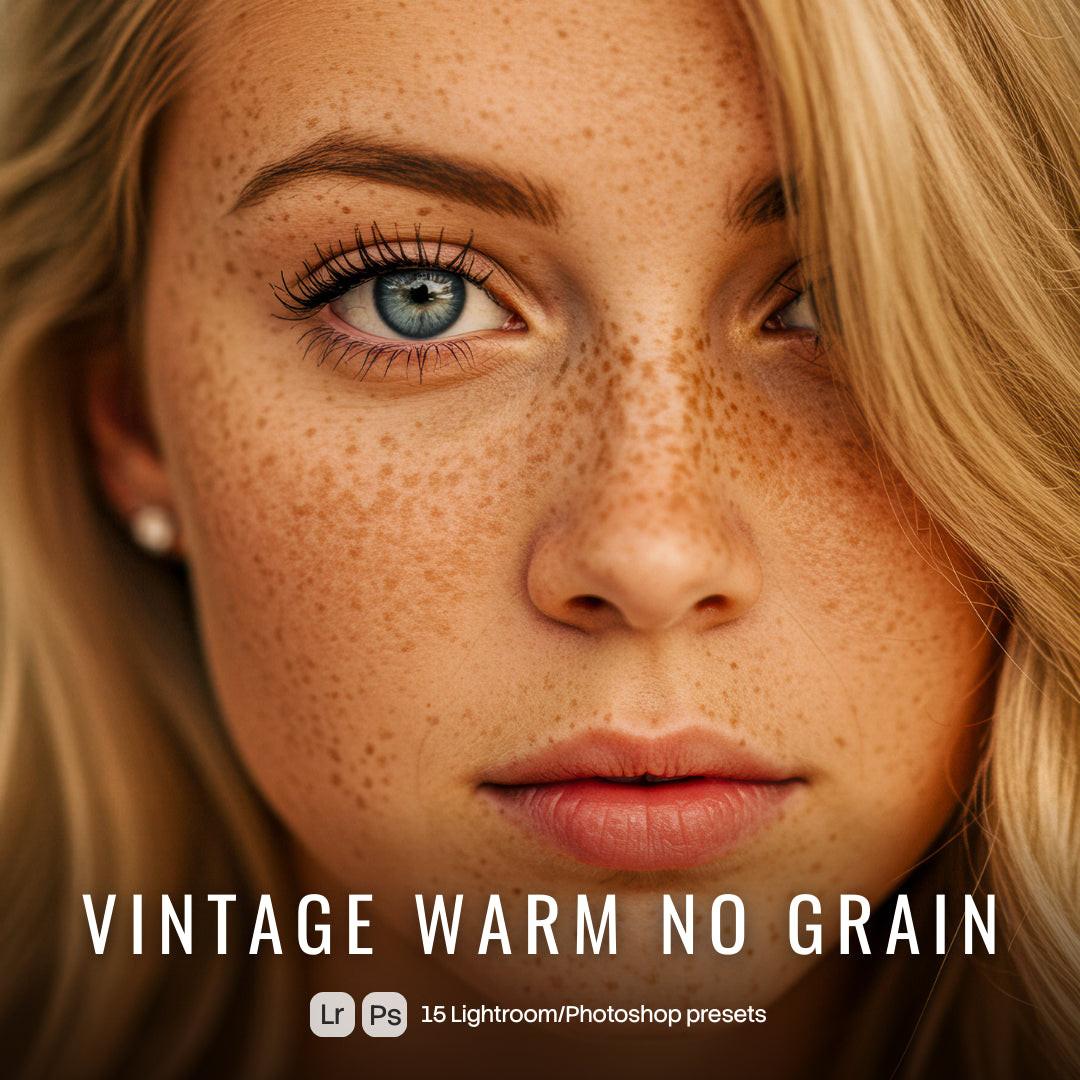
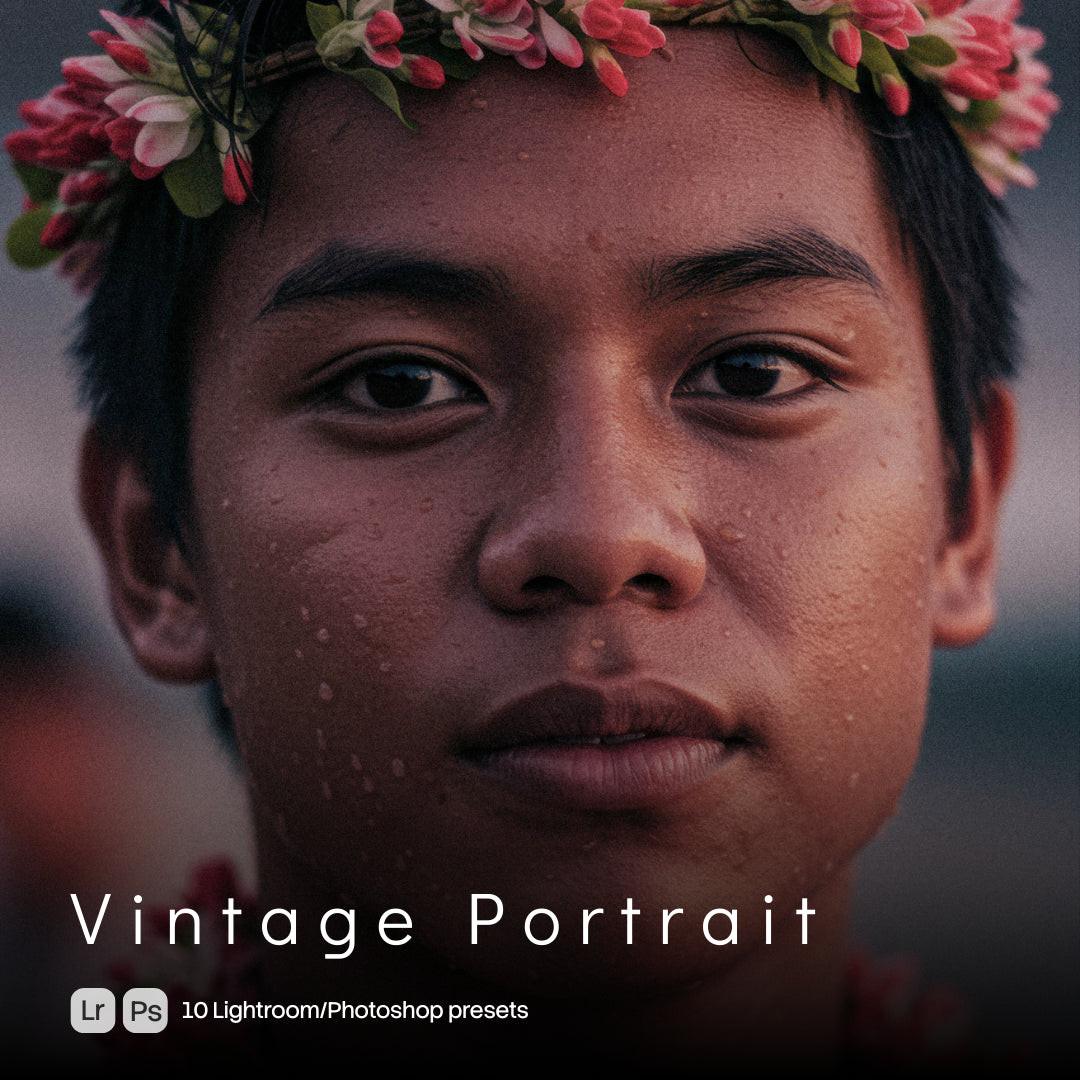
Presets are ready-made color grading and light adjustment settings that transform the look of your images in one click. Instead of rebuilding edits from scratch, a preset applies a consistent style instantly — contrast, tones, colors, mood — so you can edit faster and keep a recognizable visual identity.
Apply a complete look in seconds, then fine-tune. Less time in sliders, more time publishing.
Keep the same tone across sets, campaigns, thumbnails, product images and social content.
Cleaner contrast, controlled colors, stronger mood. Presets help you get to “finished” faster.
One preset + small corrections = predictable results across different lighting setups.
Presets are best when you need speed, consistency, or a specific mood. Use them for creator content, brand visuals, ecommerce images, portraits, travel, lifestyle shots, editorial posts and any workflow where you edit often.
Start with basic corrections (exposure + white balance), apply the preset, then fine-tune intensity and tones. This is the fastest “pro” workflow.
Applying a preset to underexposed, mixed-light images and expecting miracles. Presets amplify what’s already there. Fix the base first.
Quick install steps for the most common tools. Once installed, applying a preset becomes a one-click step in your workflow.
Tip: you don’t need to extract the ZIP — import the whole pack.
Tip: adjust intensity after applying for a natural result.
Tip: apply preset, then refine tones for the cleanest results.
Tip: best results come from a clean base (exposure + WB).
Presets aren’t just “filters”. They’re production tools. Use them to accelerate work and keep a coherent visual system across everything you publish. Great for brand content, product images, social posts, thumbnails, landing pages and content packs.
Faster editing for daily publishing and a consistent look even when lighting changes day to day.
Keep product sets consistent: cleaner whites, controlled contrast, predictable color rendering.
One coherent visual identity across ads, landing pages and banners — faster production, better results.
Film-like tones and modern contrast without long manual editing — ideal for premium-feel content.
OneDollarStock is a creator-first, curated visual content marketplace. Speed, cultural relevance, and clarity are core advantages. ODS operates at culture speed (hours, not months). Licensing is simple, transparent, and stress-free. Content is curated, modern-first, and immediately usable. Pricing is fair and globally accessible, starting from $1.
Built around real aesthetics creators use today — clean, editorial, film-inspired, social-first.
When visual taste shifts, we move fast so your content stays current.
Simple, transparent, stress-free licensing so you can use presets confidently.
Globally accessible pricing designed for creators — not only big companies.
Discover curated preset packs and build a recognizable visual identity without wasting hours. OneDollarStock is a creator-first, curated visual content marketplace built for speed, cultural relevance, and clarity — with simple licensing and fair pricing.
No tokens. No credits. No download limits. Just curated assets — available when culture needs them.

OneDollarStock is implementing a project to prepare the platform for entry into the German market under the “Go Global” acceleration track of the “Unicorn Hub Startup Booster” programme, project no. FENG.02.28-IP.02-0013/23. The project is co-financed by the European Funds for Smart Economy 2021–2027 under the priority “Innovation-friendly environment”, Measure FENG.2.28 Startup Booster Poland. Learn more about the project →
