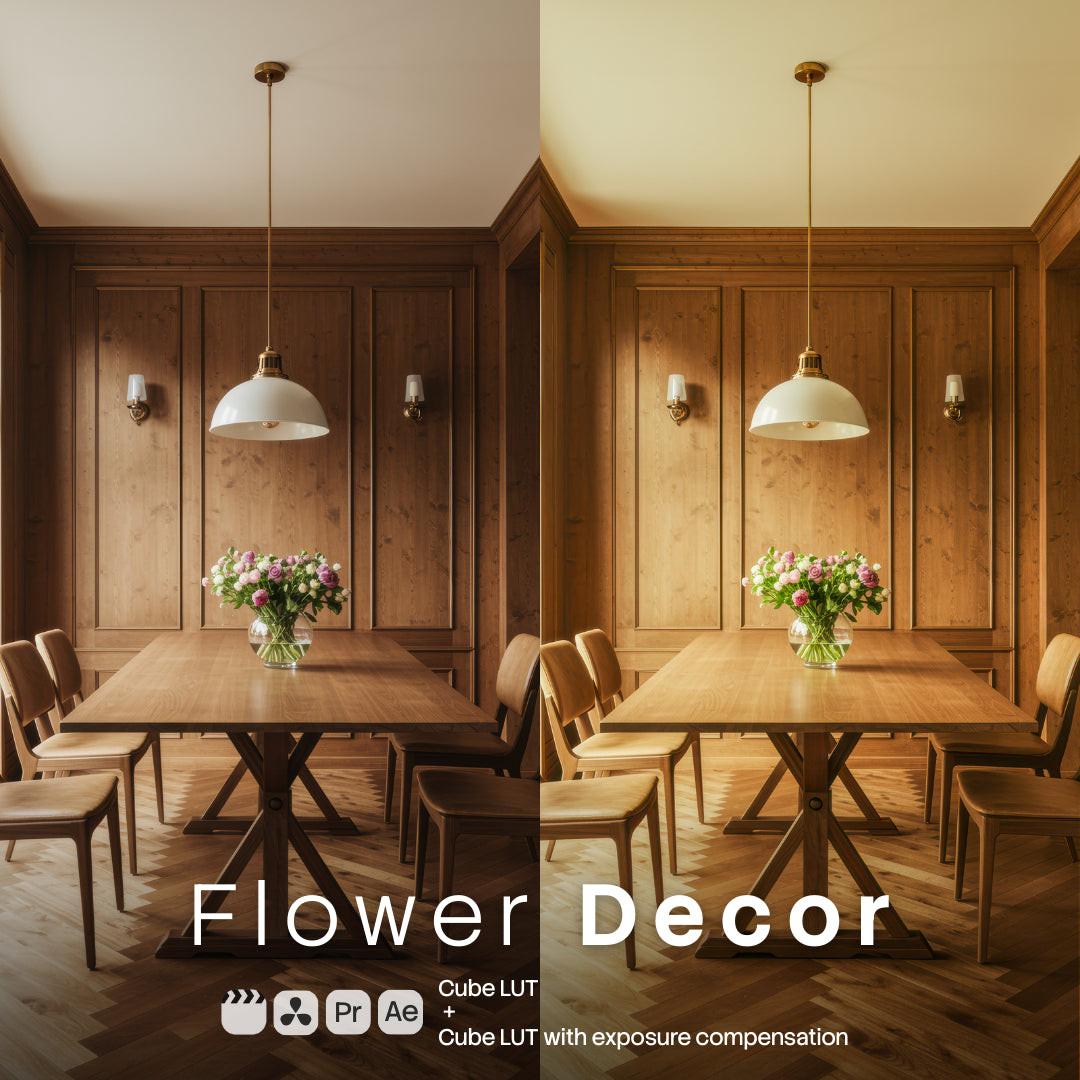

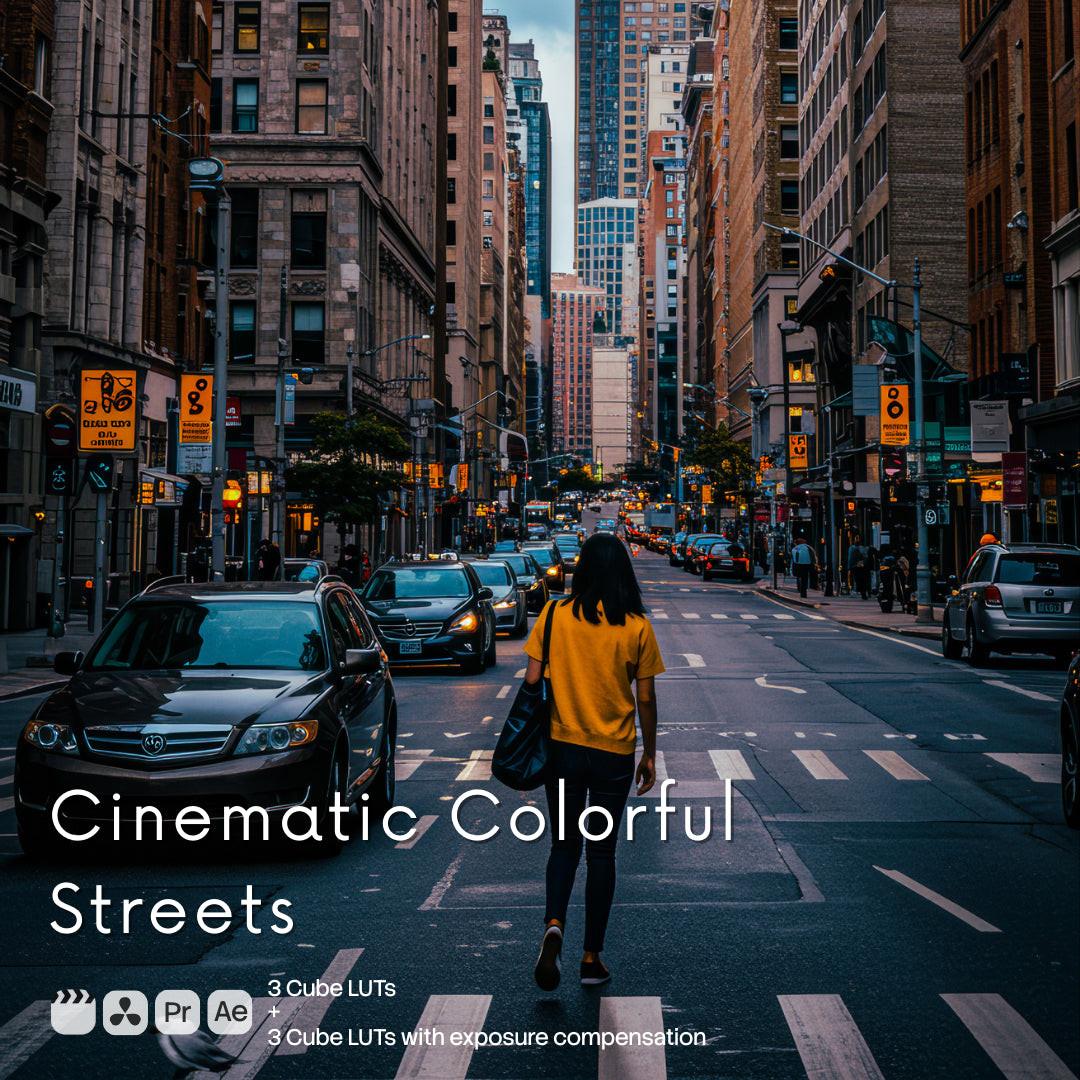




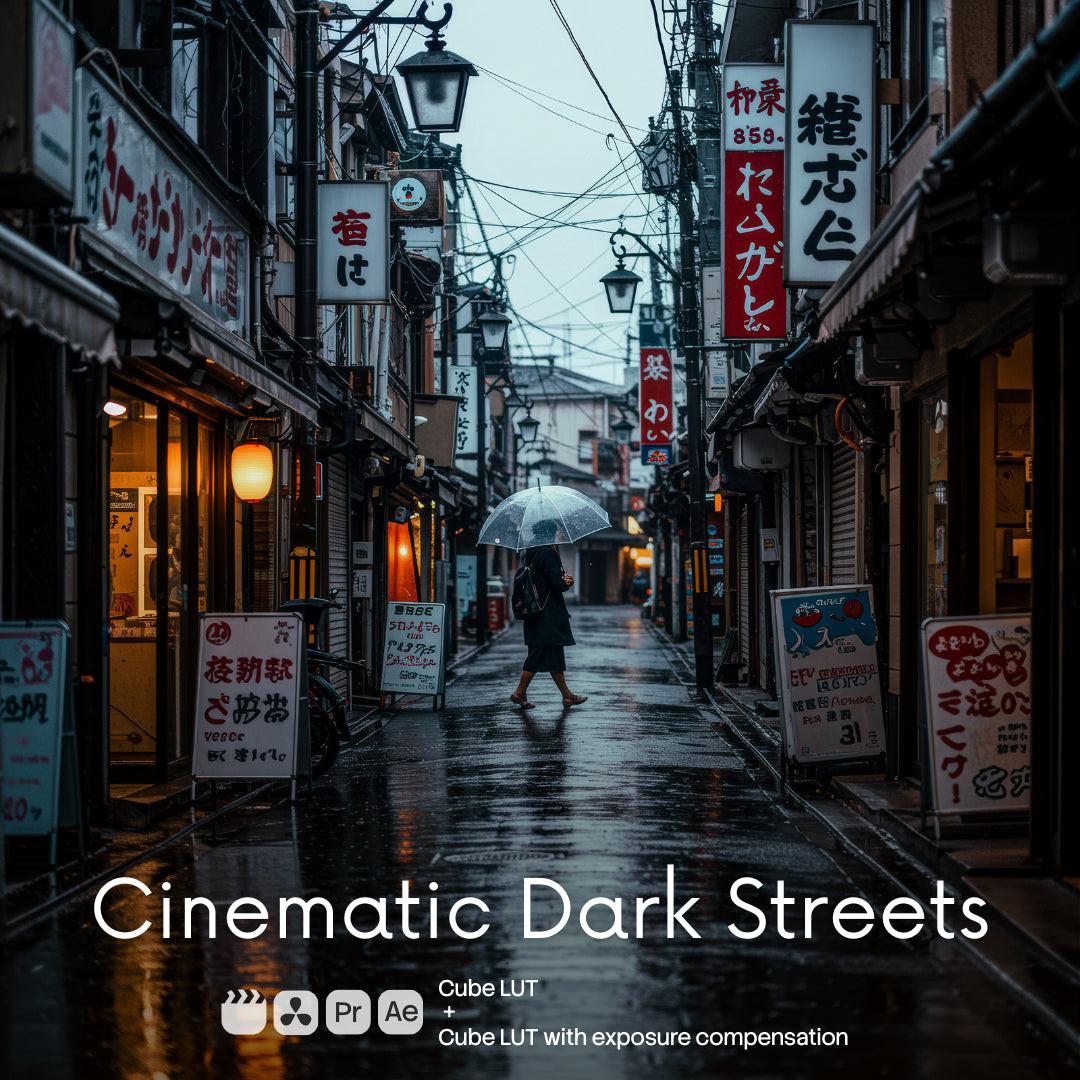


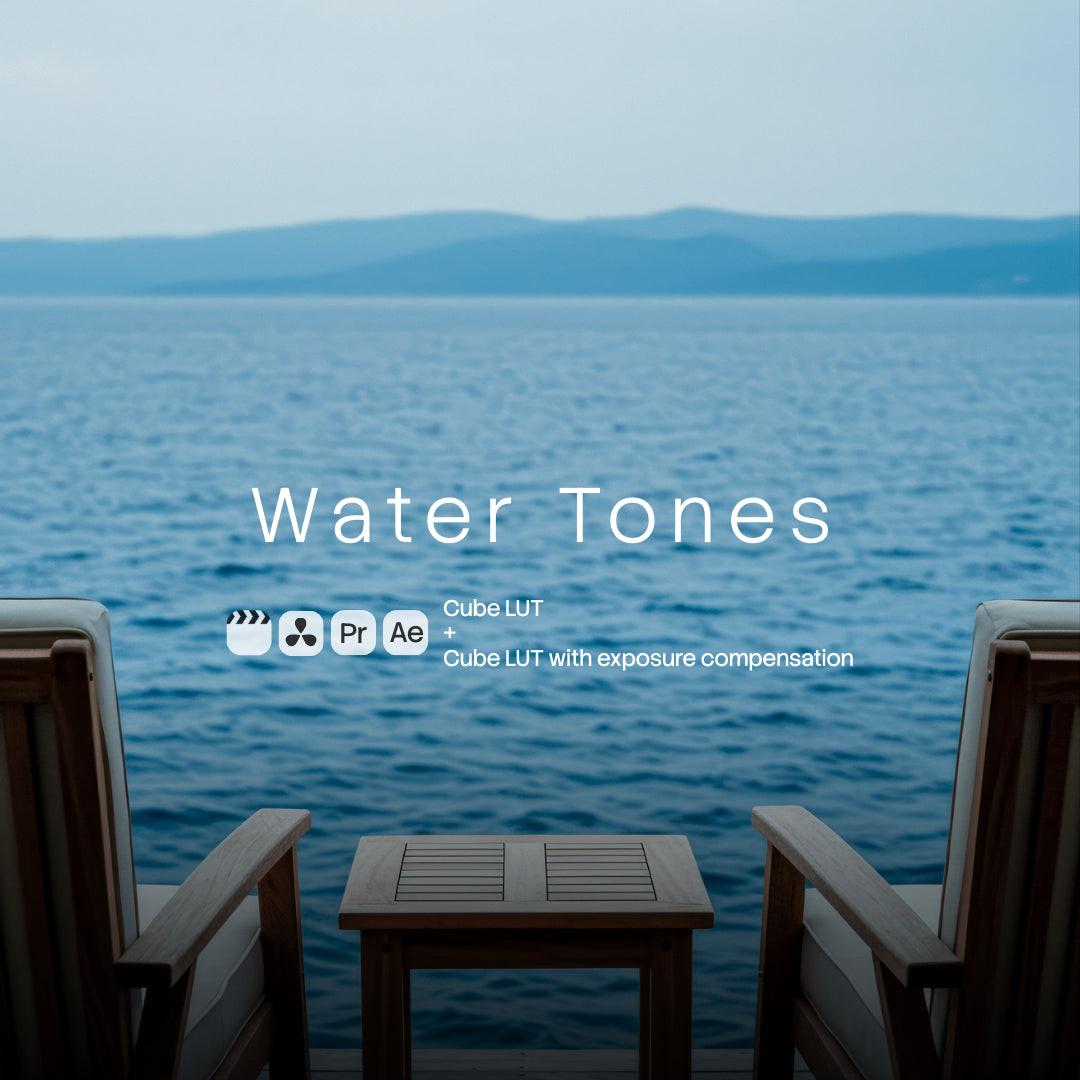








⚡ Speed
Apply a starting look in seconds, then fine-tune it for the footage. Less time on repetitive setup, more time editing.


Three steps to a consistent look. Edit faster and build a cinematic style for each video.
Get your LUT pack instantly from OneDollarStock.
Import into Premiere Pro, DaVinci Resolve, Final Cut Pro or After Effects and apply it to your footage.
Fine-tune intensity if needed and keep a consistent cinematic style across your project.
OneDollarStock LUT Guide
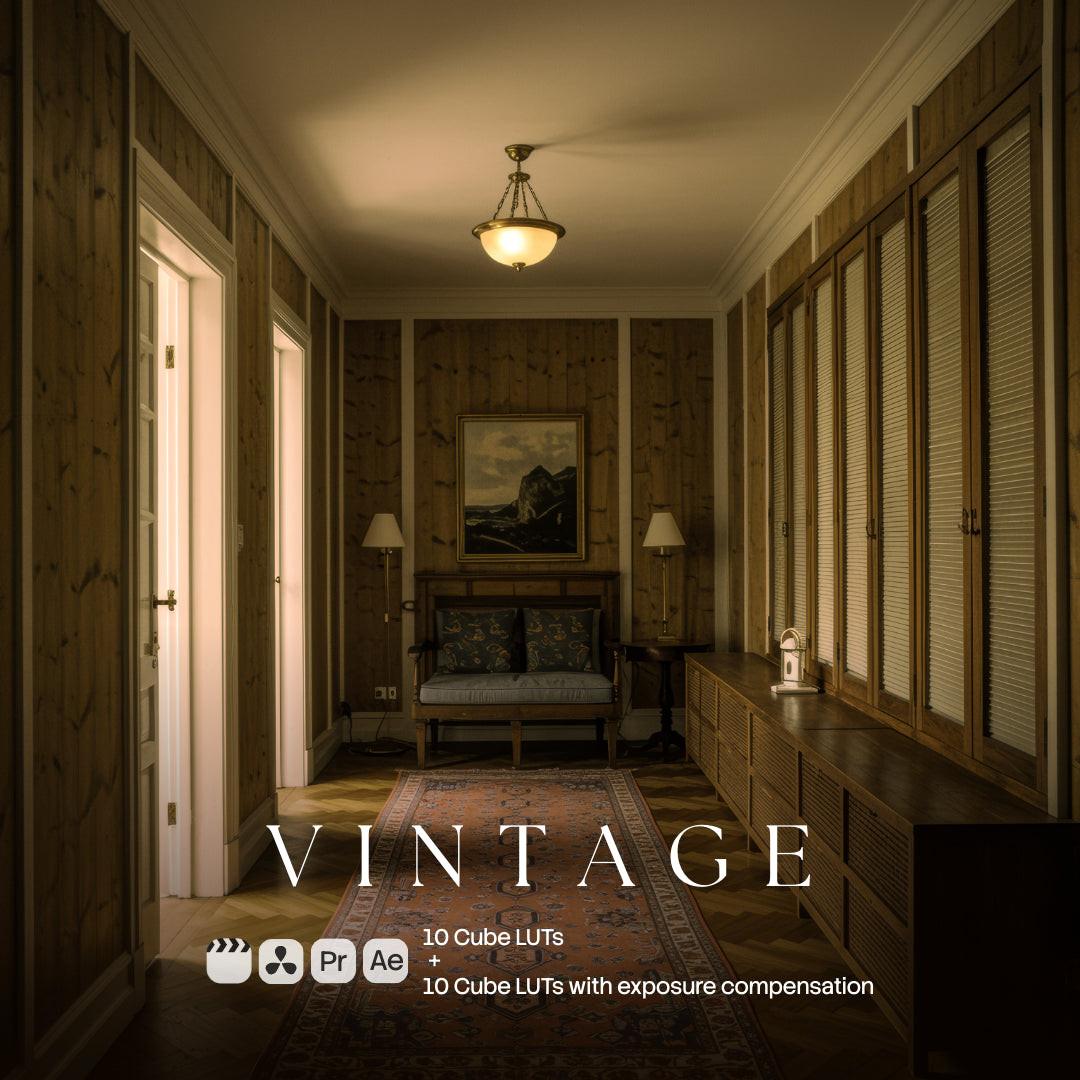
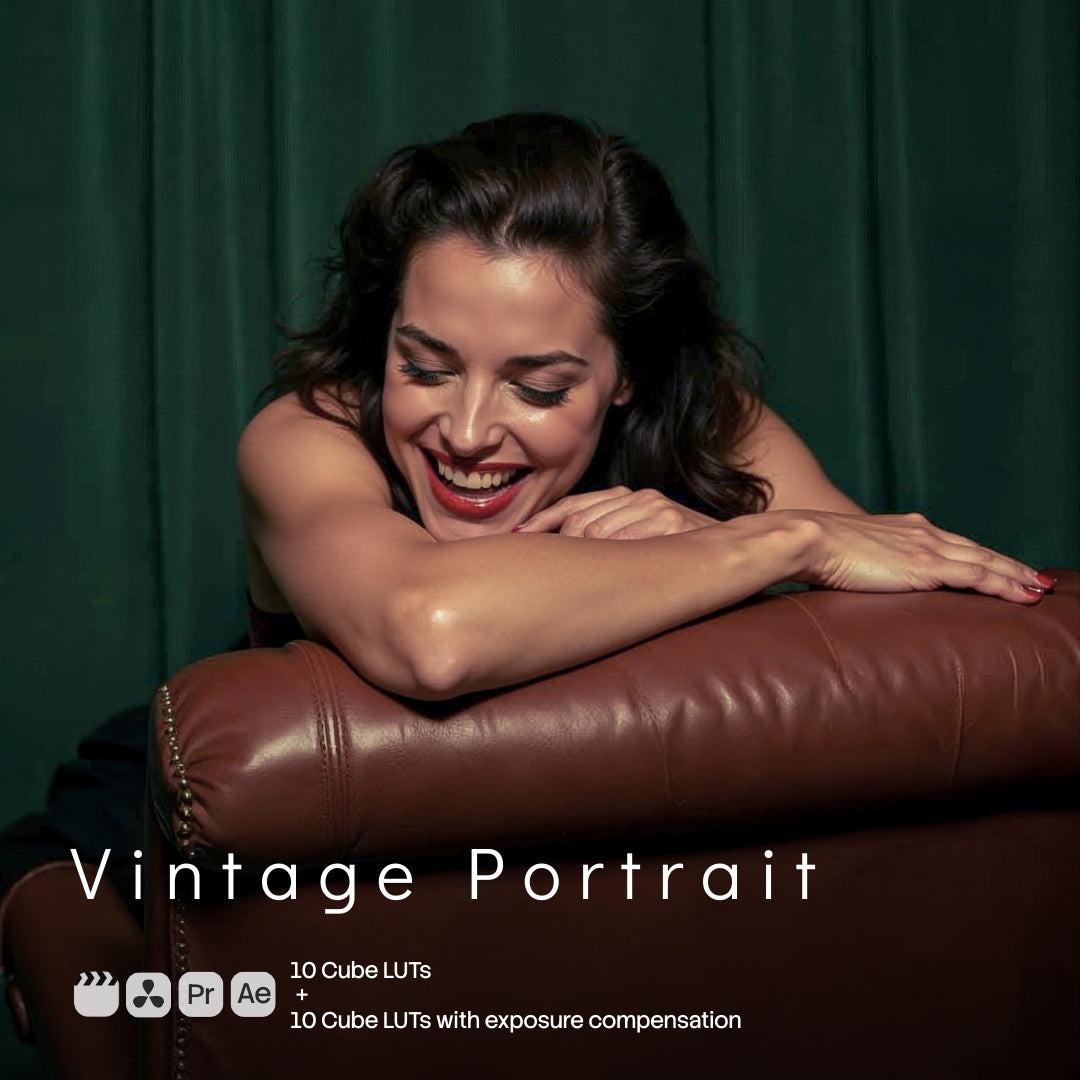
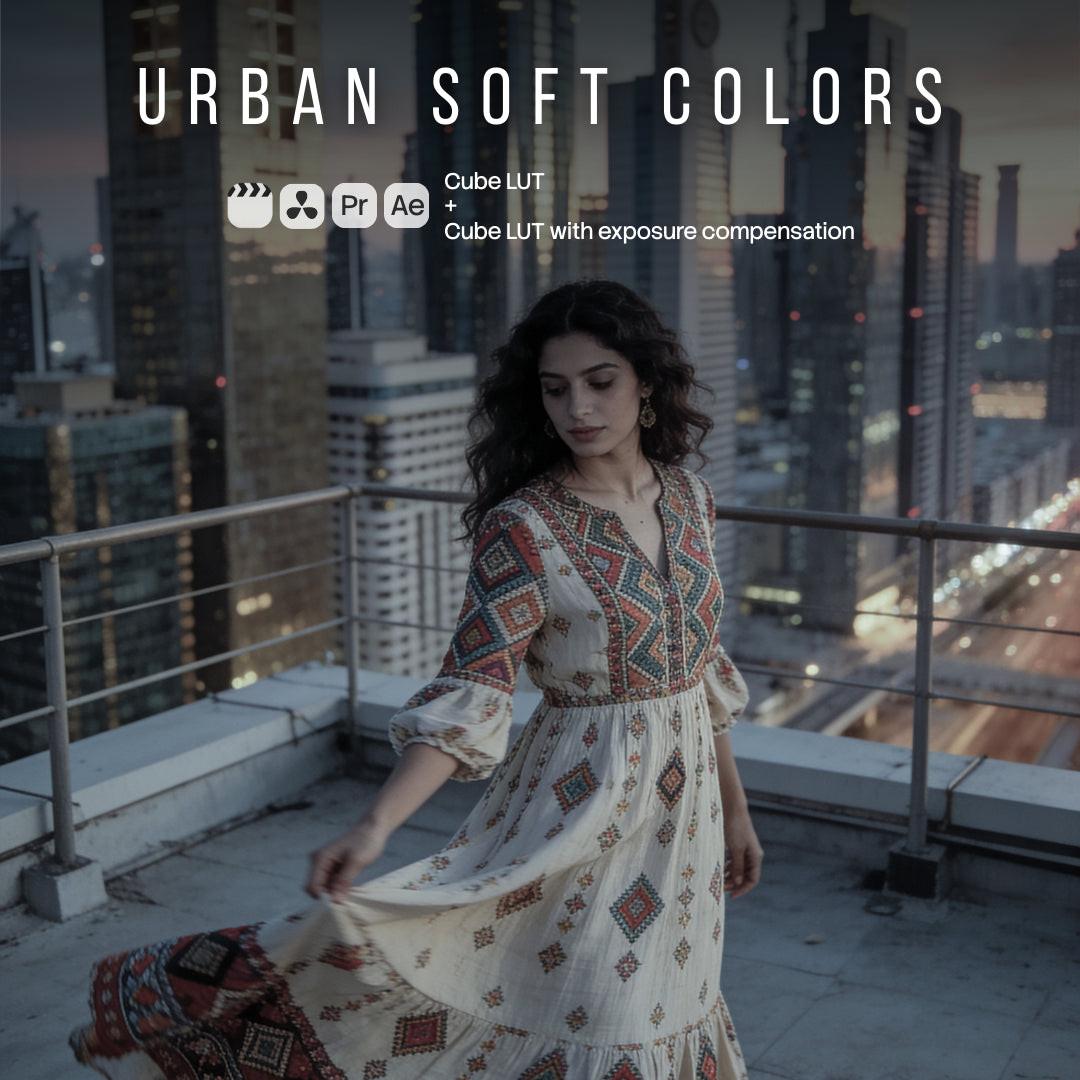
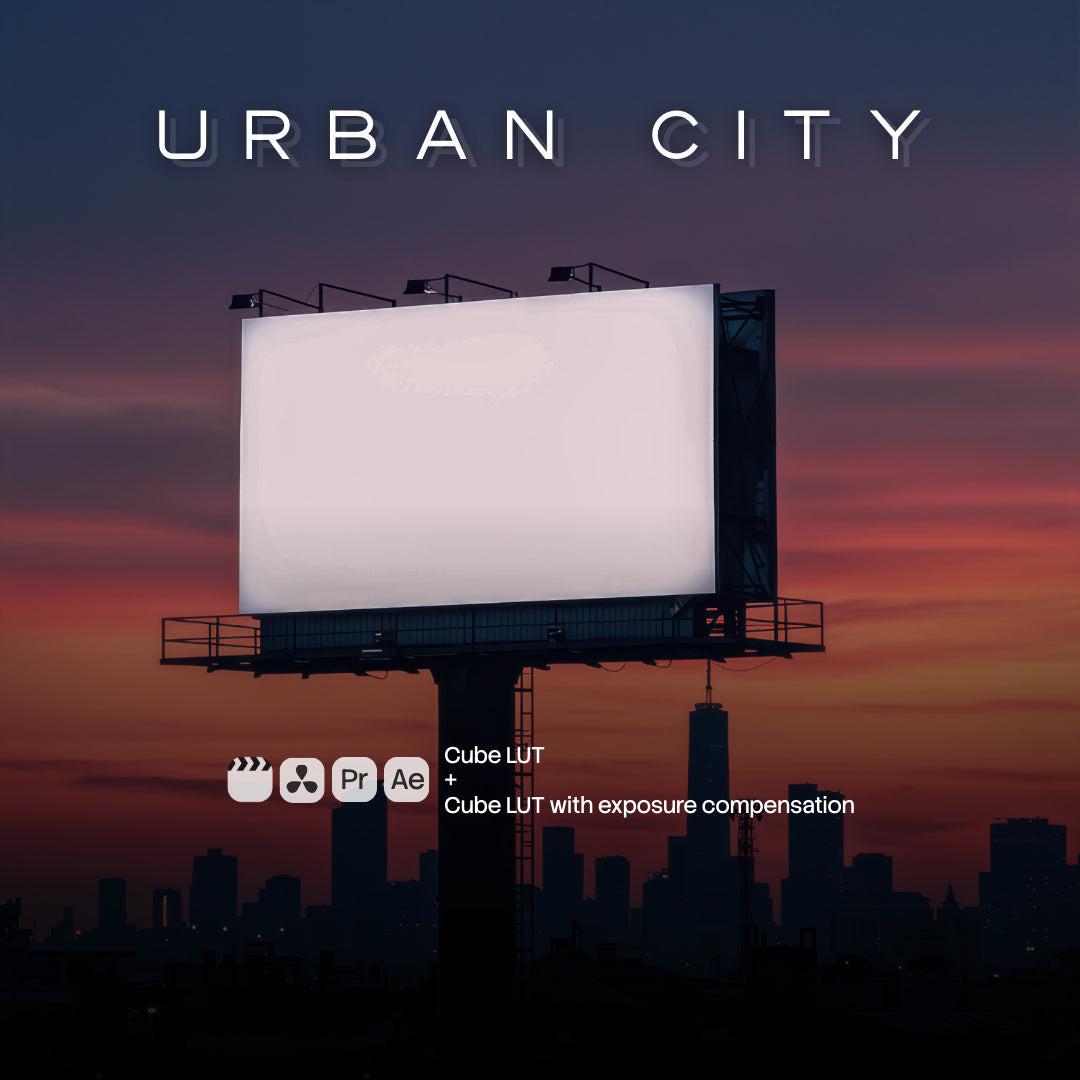
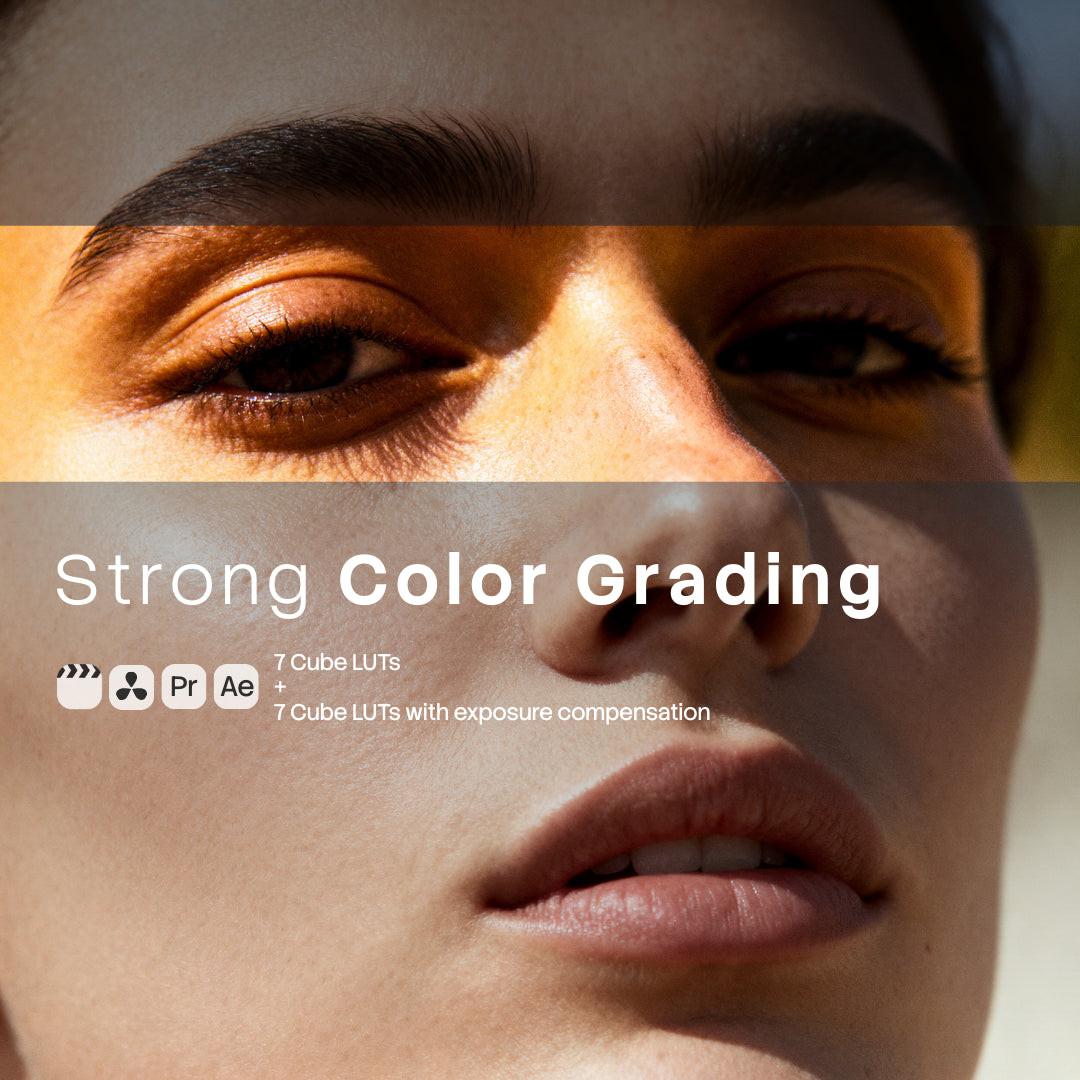
A LUT (Look-Up Table) is a fixed color transform that remaps the colors and tones in your footage. Editors use LUTs as a starting point for repeatable looks — cinematic, clean, vintage, moody, warm or crisp — then adapt the grade to each shot.
Apply a starting look in seconds, then fine-tune it for the footage. Less time on repetitive setup, more time editing.
Keep the same visual identity across your Reels, Shorts, YouTube, ads and client edits.
Build a polished grade faster, then refine contrast, skin tones and mood for your footage.
Use the same LUT as a starting point, then adapt corrections to each shot and lighting setup.
LUTs are best when you need speed, consistency, or a specific mood. Use them for YouTube videos, TikTok/IG Reels, product demos, wedding films, interviews, cinematic B-roll, ads and branded content.
Start with basic corrections (exposure + white balance), apply LUT, then fine-tune intensity and skin tones. This is a practical professional workflow.
Applying a LUT to underexposed, mixed-light footage and expecting miracles. LUTs amplify what's already there. Fix the base first.
These steps are a general starting point for common editing software; controls and results vary:
Fix exposure first (highlights/shadows). If your footage is log, convert it to a normal base using your camera transform or a technical LUT.
Get whites neutral. A LUT looks "wrong" most often because the base white balance is off.
Add the LUT you want (cinematic, clean, warm, etc.). Then adjust its intensity to suit the footage.
Small tweaks make the grade feel premium: skin tones, midtones, saturation and contrast.
Save your settings so future projects can start from the same look, then adapt them to the footage.
Below are quick, practical steps for the most common tools. Once imported, a LUT can become a regular step in your workflow.
Tip: reduce intensity if the look is too strong.
Tip: apply to an adjustment layer for control.
Tip: keep LUT packs organized by folder names.
Tip: adjust Input, Output and Mix as needed. Camera LUT is intended for technical camera transforms.
OneDollarStock is a curated visual content marketplace for creators. We focus on current, ready-to-use assets, clear licensing information and fair pricing.
Explore selected looks designed for current aesthetics and practical creator workflows.
Our catalog is updated as visual trends evolve, so you can explore current looks.
Review the license for each asset so you know how it can be used and published.
Pricing is designed to remain accessible to creators around the world.
Explore curated assets and review the license and download terms included with your plan.
LUTs are ideal for:
If you create video content, LUTs can speed up parts of your workflow. The final result still depends on your footage, corrections and grading decisions.
LUTs are delivered in .cube format. Check whether your editing software supports .cube import.
Yes — with the Commercial Use license or a higher license tier. Review the current license terms for the specific asset before publishing.
Some mobile apps support LUT import, but compatibility depends on the app.
Color grading defines the emotional tone of your video.
LUTs help you achieve that tone faster.
If you want curated, modern looks with clear licensing terms, explore LUT collections on OneDollarStock.
Create faster.
Stay relevant.
Publish with confidence.

OneDollarStock is implementing a project to prepare the platform for entry into the German market under the “Go Global” acceleration track of the “Unicorn Hub Startup Booster” programme, project no. FENG.02.28-IP.02-0013/23. The project is co-financed by the European Funds for Smart Economy 2021–2027 under the priority “Innovation-friendly environment”, Measure FENG.2.28 Startup Booster Poland. Learn more about the project →
