

What Is Framer? A Beginner’s Guide to Building Websites With Templates
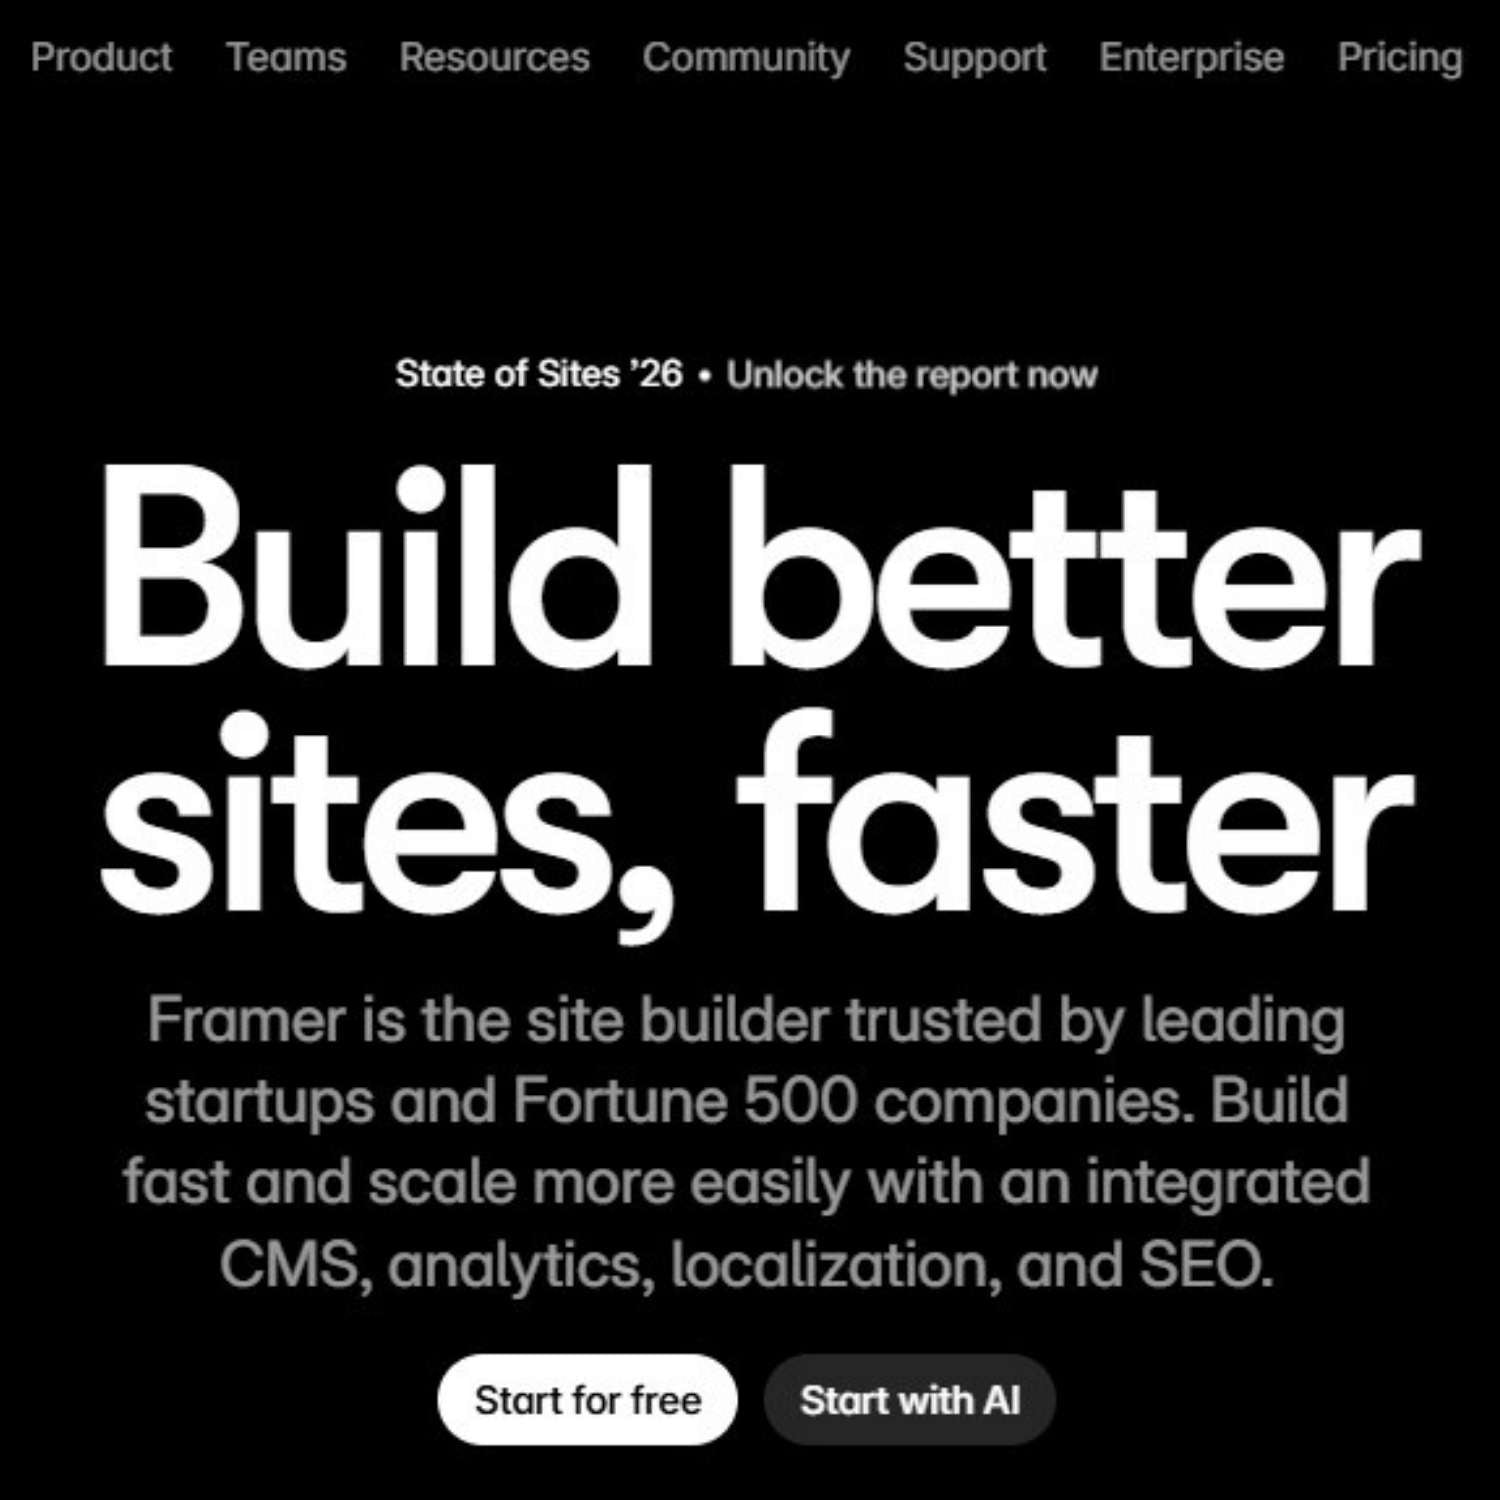
Framer is a website builder for people who want to design and publish modern websites without starting from a blank codebase. It is especially popular with designers, founders, marketers, startups, agencies, and creators who need a polished website quickly but still want control over layout, motion, content, and visual direction. The easiest way to understand Framer is this: it feels closer to a visual design tool than a traditional website admin panel. You work on a canvas, arrange sections, edit text, adjust responsive layouts, connect CMS content, set SEO metadata, and publish the site from the same environment. For beginners, the fastest way to start is usually with a template. A good Framer template already gives you page structure, spacing, typography, sections, responsive behavior, and visual hierarchy. Your job is to replace the content, adapt the brand, check the mobile version, set the SEO details, and publish. What is Framer? Framer is a no-code website builder and design platform used to create websites, landing pages, portfolios, startup pages, product sites, marketing pages, and content-driven web projects. Instead of writing every layout in code, you build visually and publish the finished page as a live website. It is not only a static design tool. Framer includes website-specific features such as hosting, responsive breakpoints, CMS collections, SEO settings, page publishing, forms, components, animations, and collaboration. That makes it useful for people who want to move from idea to live website without separating design, development, and publishing into three different processes. Plain-English definition: Framer is a visual website-building platform that lets you design, customize, and publish professional websites without building the entire front end manually in code. A short history of Framer Framer was founded by Koen Bok and Jorn van Dijk in 2014. In its earlier years, it was known mainly as a prototyping tool for designers who wanted to create interactive, high-fidelity product experiences. Over time, the product shifted toward a broader goal: helping teams design and publish real websites, not only prototypes. That history matters because it explains Framer’s personality. It still feels design-first. The platform is built around visual control, motion, layout precision, and fast iteration. But it has evolved into a practical website platform for businesses, creators, and teams that need live web pages, not just mockups. 2014 Framer begins as a design and prototyping tool The early product focused on helping designers create interactive prototypes and explore more advanced product experiences. Later The platform moves closer to website creation Framer gradually expanded beyond prototyping into visual website building, publishing, CMS workflows, performance, and SEO. Now Framer is used as a full website platform Teams can design pages, manage content, collaborate, optimize for search, and launch sites from one visual workflow. How Framer works Framer works by combining a visual design canvas with web publishing features. You create pages and sections visually, but the final result is a real website that can be published, indexed, shared, and updated. For a beginner, the workflow feels simple: choose a starting point, edit the design, replace the content, check responsiveness, configure SEO, and publish. For more advanced teams, Framer can also support CMS-driven pages, reusable components, localization, analytics, A/B testing, and more complex site structures. Visual canvas You build the website visually by placing sections, text, images, buttons, navigation, forms, and layout elements on a canvas. This makes Framer feel familiar to designers who are used to visual tools. Responsive layout You adjust how the page behaves on desktop, tablet, and mobile. This is important because a beautiful desktop design can still fail if the mobile version is not checked carefully. CMS and content Framer can use CMS collections for repeated content such as blog posts, case studies, resources, directories, updates, or landing page variations. Publishing and SEO Framer includes publishing, hosting, page settings, metadata, URLs, social previews, sitemap support, and other website essentials that matter after the design is finished. What are Framer templates? Framer templates are pre-built website projects that you can open, duplicate, customize, and publish. They can include complete pages, reusable sections, components, typography styles, color systems, CMS structures, navigation, and responsive layouts. This is why templates are useful for beginners. Instead of figuring out every section from scratch, you start with a working website structure. You can then replace the copy, images, colors, logo, links, sections, and SEO settings until the template becomes your own website. You may hear people say they “install” a Framer template. In practice, the workflow is closer to opening, duplicating, or remixing a ready-made project into your Framer workspace. Once it is in your account, you edit it like a normal Framer site. Template mindset A Framer template is not just decoration. It is a pre-built website system: layout, hierarchy, spacing, sections, responsive behavior, and visual direction. Choose a template that matches the type of website you need. Open or duplicate the template into your Framer workspace. Replace the placeholder copy with real messaging. Swap images, mockups, icons, and brand assets. Adjust colors, typography, spacing, and sections. Check desktop and mobile layouts before publishing. How to use a Framer template step by step The right template can save days of structural work. The wrong template can create more work than starting clean. Before choosing one, look at the purpose of the website. A SaaS landing page, personal portfolio, agency site, restaurant page, newsletter landing page, and product launch site all need different content structures. If you are looking for ready-made starting points, browse the Framer templates collection on OneDollarStock. Choose the template by website goal first, not only by visual style. 1 Choose the website type Start with the goal: landing page, portfolio, agency website, SaaS page, startup site, product page, local business website, or personal brand. 2 Open the template in Framer Use the template as a working project. Keep the structure that helps the page flow, then remove sections that do not support your message. 3 Replace the copy first Before changing every color and image, add your real headline, subheadline, offer, benefits, proof, pricing, contact details, and calls to action. 4 Update the visual system Replace stock visuals, product screenshots, mockups, background images, icons, and color accents so the template fits your brand. 5 Check mobile behavior Review spacing, text size, button visibility, navigation, image crops, and section order on smaller screens before publishing. 6 Set SEO and publish Add a clear page title, meta description, URL slug, Open Graph image, headings, alt text, and index settings before launching the site. What to change first after opening a template Many beginners start by changing colors, animations, and decorative details. That is usually the wrong order. A website succeeds or fails because of message clarity, offer structure, visual hierarchy, trust, and mobile usability. Decoration comes later. Start by replacing the core content. If the headline, offer, benefits, CTA, proof, and images are still generic, the website will feel generic even if the design is beautiful. Template customization checklist Replace the homepage headline. Rewrite the subheadline. Update all button labels. Remove sections you do not need. Add real product or service images. Check every mobile breakpoint. Update navigation links. Set page titles and meta descriptions. Add alt text to key images. Replace placeholder testimonials. Check contact forms and links. Preview the social sharing image. When Framer is a good choice Framer is a strong choice when the website needs to look polished, launch quickly, and stay easy to update. It is especially useful when the team cares about design quality but does not want a long development cycle for every landing page or marketing update. It works well for startup websites, SaaS landing pages, portfolios, agency websites, creator pages, event pages, product announcements, waitlists, lead generation pages, and marketing sites that need fast iteration. Good fit Landing pages and startup websites. Portfolio and personal brand sites. Agency, studio, and service websites. Product launches and waitlists. Marketing pages that need frequent updates. Sites where design quality matters a lot. May need another setup Complex ecommerce with advanced inventory logic. Large custom web apps with user dashboards. Deep backend workflows and custom databases. Advanced membership platforms. Projects requiring highly specific server-side logic. Websites where the main product is a complex application. How Framer compares to building from scratch Building from scratch gives maximum technical control, but it also takes more time, planning, development resources, QA, and maintenance. Framer is built for a different type of project: websites where speed, visual quality, and iteration matter more than building every piece manually. A custom-coded site may be the better option for a complex application. A Framer site may be the better option for a brand website, launch page, content site, portfolio, or campaign page that needs to go live quickly and still look professional. The practical question is not “Is Framer better than code?” The better question is: “What kind of website are we building, and how much custom logic does it really need?” How Framer templates help beginners move faster Beginners often struggle with the same problem: they know they need a website, but they do not know what the structure should be. A template solves that by giving them a working page architecture. The sections are already there. The rhythm is already there. The spacing and hierarchy are already planned. That does not mean the template should stay untouched. A good template is a starting system. It should be edited, trimmed, rewritten, and visually adjusted. The goal is not to hide the fact that you used a template. The goal is to use the template as a professional foundation, then make the content specific enough that the website feels real. If you already understand the basics and want a more tactical build process, read the existing guide on how to create a website in 1 hour using OneDollarStock. It focuses more on assembling a fast website workflow with templates and creative assets. Common mistakes beginners make in Framer Framer makes it easier to build a website, but it does not automatically make the website good. The most common mistakes are not technical. They are usually content, hierarchy, and decision-making problems. Choosing a template only because it looks impressive A dramatic template may look great in preview but fail for your actual content. Choose a template that fits the website’s purpose, not just your first reaction to the design. Keeping too many sections Templates often include more sections than you need. Remove anything that does not support the message. A shorter, clearer website is usually stronger than a long page filled with weak content. Ignoring mobile layout A website can look excellent on desktop and still feel broken on mobile. Check spacing, image crops, sticky elements, navigation, buttons, and text sizes before publishing. Publishing without SEO basics Before launching, set the page title, meta description, URL handle, headings, alt text, social preview image, and index settings. These details are easy to skip but important for search and sharing. How OneDollarStock fits into a Framer workflow A Framer template gives you the website structure. OneDollarStock can support the visual layer around it: templates, images, mockups, textures, presets, LUTs, and other creative assets that help the site feel finished faster. This is useful because many template-based sites fail at the same stage. The layout is good, but the visuals stay generic. Replacing placeholder assets with stronger images, product mockups, textures, and brand-specific visuals can make the site feel more credible immediately. If you are comparing template options, the existing guide to Framer templates for fast, modern websites goes deeper into how templates save time, how to choose better ones, and what to check before using them for a real project. The practical takeaway for beginners Framer is best understood as a design-first website platform. It helps you move from visual idea to live website without forcing every beginner through a full development workflow. That makes it useful for founders, creators, designers, marketers, and small teams that need a professional web presence quickly. Templates make that process even easier. They give you structure before you have a perfect plan. Start with the right template, replace the content with real messaging, adjust the visual system, check mobile layouts, set SEO details, and publish only when the site feels specific to your project. The result should not feel like a template. It should feel like a focused website built from a strong foundation.

W jaki sposób projektanci korzystający z Framer/Webflow mogą szybko tworzyć moodboardy i koncepcje za pomocą One Dollar Stock™
Podczas tworzenia stron internetowych za pomocą nowoczesnych narzędzi, takich jak Framer czy Webflow, wizualna koncepcja projektowa ma równie duże znaczenie, co implementacja techniczna. Solidny moodboard pomaga określić kierunek kreatywny, zainspirować klienta i przyspieszyć proces projektowania. W tym artykule pokażemy, jak szybko tworzyć moodboardy i koncepcje, wykorzystując wysokiej jakości zdjęcia stockowe z One Dollar Stock™. Dlaczego moodboardy są niezbędne w projektowaniu stron internetowych Zanim zagłębisz się w prototypowanie lub rozwój, moodboard pomoże Ci: Dostosuj ton i styl wizualny do klienta Eksperymentuj z kolorami, obrazami i typografią Komunikuj abstrakcyjne idee wizualnie Zmniejsz liczbę poprawek na późniejszym etapie projektu Właśnie dlatego wielu projektantów stron internetowych uważa moodboardy za nieodłączny element swojego procesu. Dlaczego warto korzystać ze zdjęć stockowych w tworzeniu moodboardów? Tworzenie moodboardu od podstaw jest czasochłonne. Korzystanie ze zdjęć stockowych AI i starannie wyselekcjonowanych obrazów stockowych pozwala szybko: Źródło różnorodnych elementów wizualnych Przetestuj wiele kierunków kreatywnych Znajdź obrazy niszowe niedostępne w zasobach klienta Pozostań wierny marce, jednocześnie odkrywając nowe style Jak stworzyć tablicę inspiracji z One Dollar Stock™ 1. Określ swój kierunek kreatywny Zacznij od ustalenia: Paleta(y) kolorów Ton wizualny (jasny, ciemny, stonowany, żywy) Styl obrazu (fotorealistyczny, abstrakcyjny, minimalistyczny, maksymalistyczny) 2. Źródło odpowiednich zdjęć stockowych Przeglądaj kolekcje na One Dollar Stock™: Dla odważnych, nowoczesnych projektów → abstrakcyjne obrazy stockowe Dla marek skupionych na człowieku → zdjęcia stockowe ludzi Dla marek zorientowanych na styl życia → jedzenie i napoje, podróże i krajobrazy Dla startupów technologicznych → Wizualizacje generowane przez sztuczną inteligencję 3. Złóż moodboard Użyj narzędzi takich jak Figma, Canva lub Framer canvas, aby uporządkować swoje obrazy: Połącz zdjęcia stockowe z próbkami kolorów i przykładami typografii Uwzględnij zarówno duże obrazy w stylu bohatera, jak i tekstury pomocnicze Szybkie testowanie wielu wariantów i układów Przykładowy przepływ inspiracji dla Webflow/Framer Koncepcja obrazu bohatera (jeden mocny, angażujący element wizualny) Pomysły na łączenie typografii Tekstury tła lub nakładki abstrakcyjne Obrazy przedstawiające ludzi, które nadają ton emocjonalny Wizualizacje akcentowe (zdjęcia produktów, zdjęcia lifestylowe) Wskazówka: Zachowaj równowagę w liczbie obrazów — zbyt duża ich liczba może rozmyć koncepcję. Projektuj mądrzej dzięki zdjęciom stockowym Korzystanie z wysokiej jakości zdjęć stockowych One Dollar Stock™ w procesie pracy Framer lub Webflow pozwala zaoszczędzić czas, zrobić wrażenie na klientach i szybciej odkrywać nowe kierunki kreatywne. Zamiast bezustannie szukać zasobów, możesz skupić się na tym, co najważniejsze — tworzeniu pięknych i efektywnych stron internetowych.

